tips for at-home gel manicures
heyyyy friends!!!
i’m going to keep the blog post excerpt short and sweet because i’m sure you all came here for the tips!!
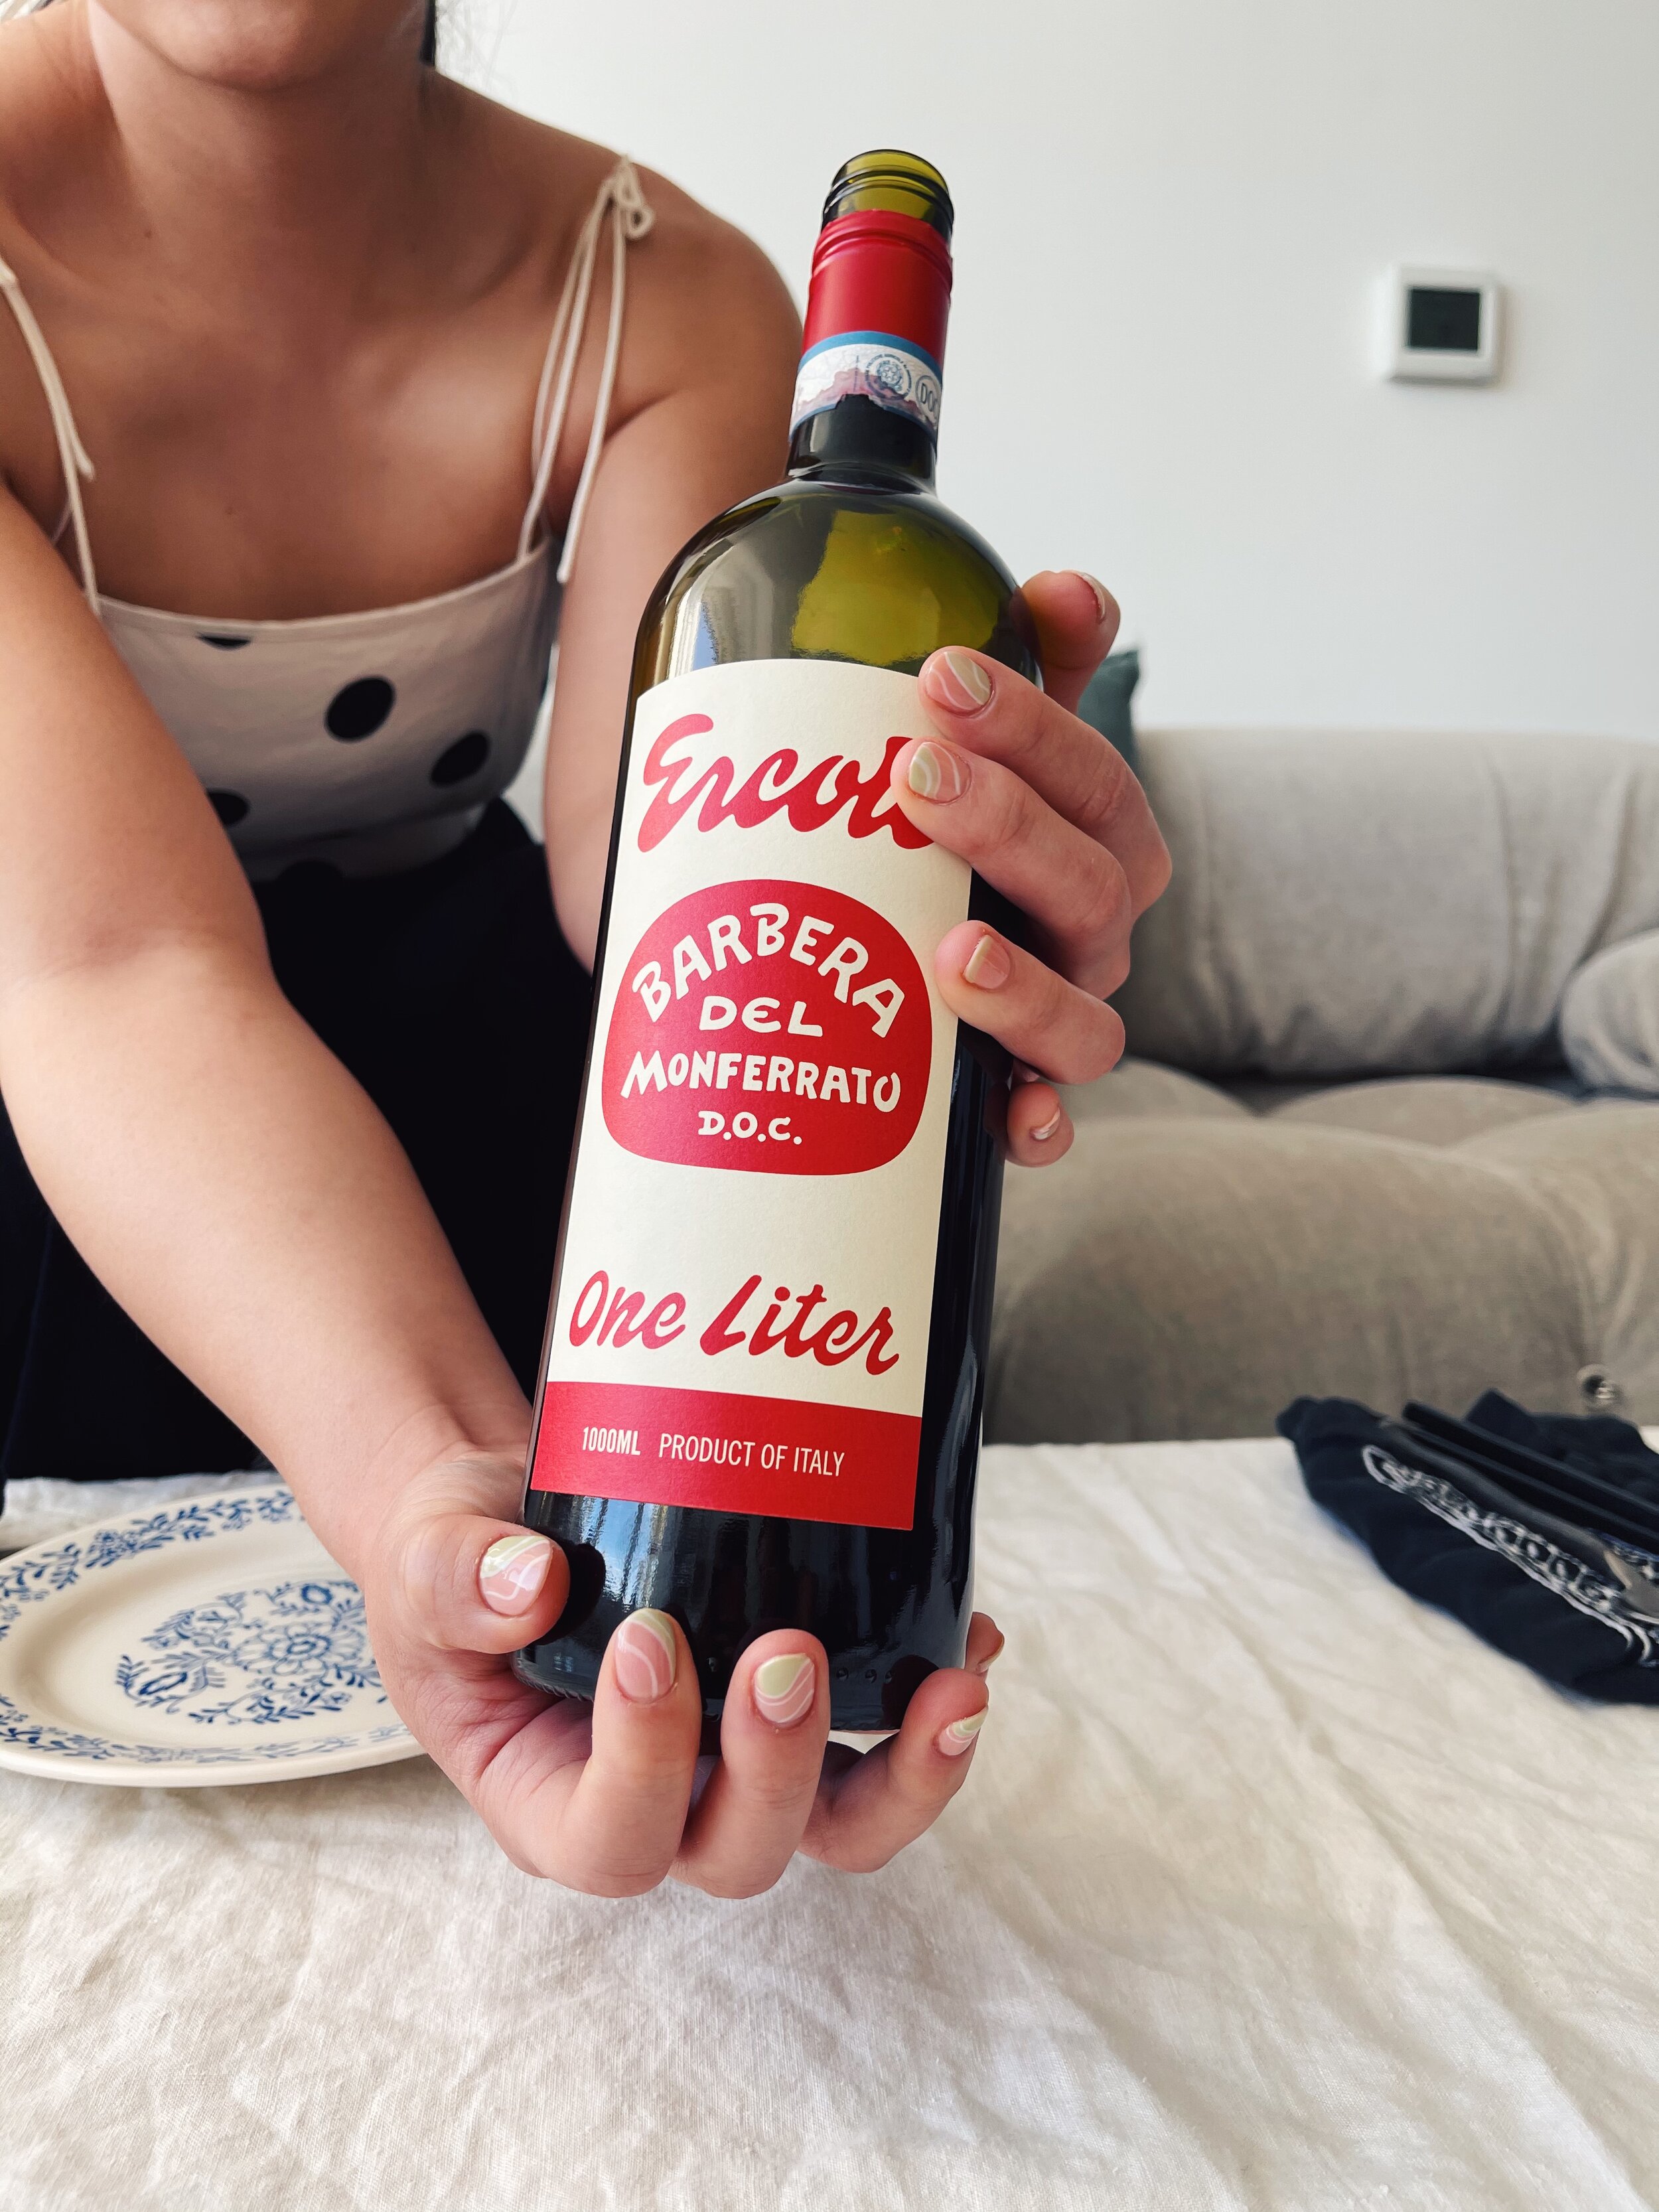
if you’ve been following me on instagram, i’m sure you’ve seen my new crazy obsession with painting every nail bed that i’ve come across. in the past 4 weeks, i kid you not, i’ve given 14 manicures to myself and some friends and i can not stop. it’s felt like wine, dinner, and paint night with my girlfriends and if this what fun your 30’s look like, i will without a doubt take it!
i’ve been asked a lot of questions about what i use / how to give yourself a gel manicure at home, so without further ado, here’s everything that i learned so far. hope you have as much fun as i’m having!!!!!
xo, christine
What you can find in my manicure kit…
basics that you’ll need:
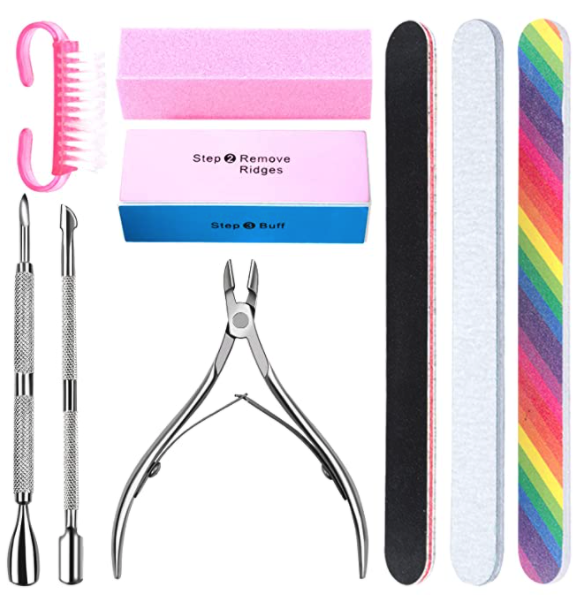
manicure tools ($7): comes with nail files, clippers, cuticle tools, sponge polisher. if you have these already, you can skip to the next ones
blue cross cuticle remover ($4): applying this product works as a cuticle conditioner and helps soften your cuticles / makes it easy to push back and clean
other basics you probably already have on hand: nail polish acetone remover, cotton pads, sunblock, tweezers, rubbing alcohol, parchment/wax paper/foil
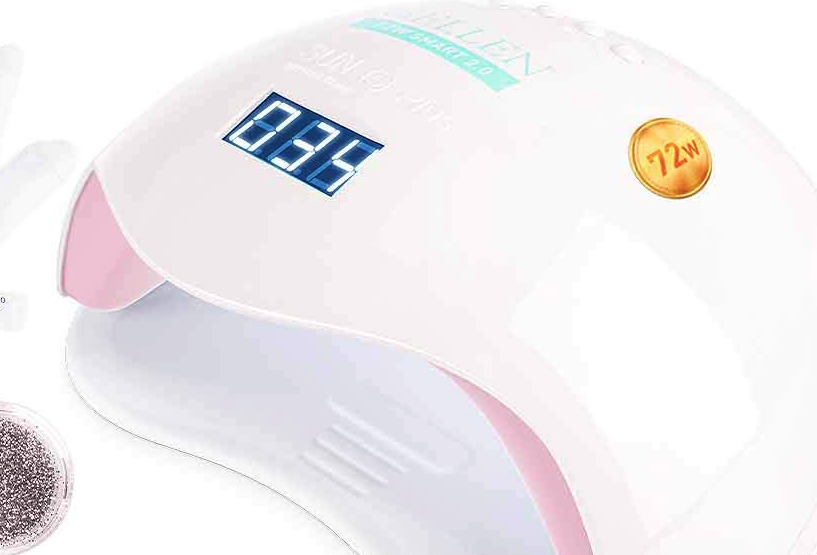
Gellen nail polish starter kit ($45). comes with uv lamp, base and top coat, 12 pink/neutral colors, and all the manicure design tools you need. it also includes stickers, glitter, and shiny rhinestones!
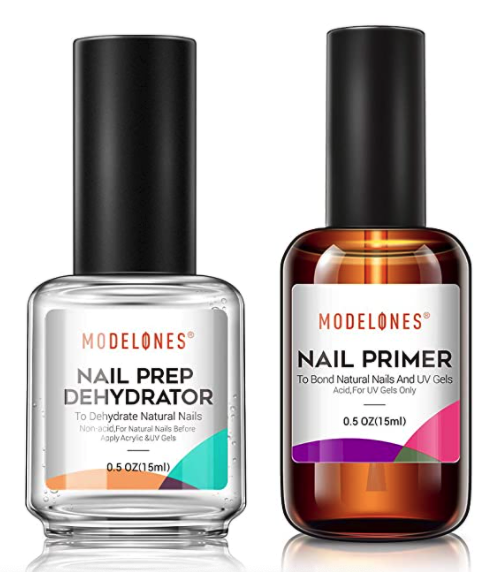
dehydrator + bond primer ($10). preps your nail to allow gel base coat and polish stick better to your nails.
upgrades for fun colors and designs:
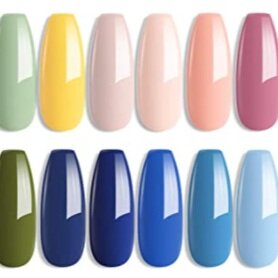
modelones gel polish colors ($30). 24 blendable colors (lights, darks, primary, secondary) that will give you a large range of colors if you want to customize.
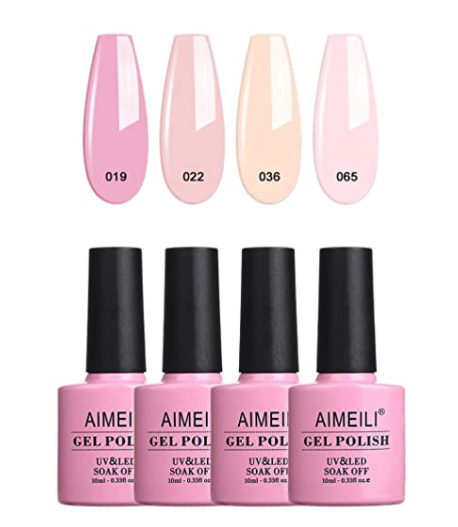
aimeili neutral base pinks ($14). while the gellen nail polish kit has some neutral pinks, these are the prettiest neutral/translucent pinks that work well for that sheer pinkish color that you see as the base for nail designs.
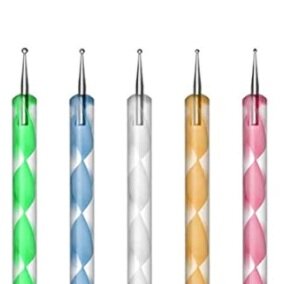
nail design tools and more ($12): nail design brushes and tools, stickers, rhinestones, literally everything under the nail design sun.
structure gel top coat ($10): recommended by a friend if you’re going for thicker nail art or rhinestones/glitter. it also adds strength to your nail and helps prevent chipping.
to help with removal
soak off clips ($4): while you can totally wrap your nails with foil, i think for the purposes of reducing waste and to saving on hassle, these soak on clips are worth the investment.
*btw, all of the links here are affiliate links from amazon so if you end up buying them, i think i’ll literally get a dollar or something. i’ll keep a running total of how much i’ve earned just in case you’re curious because i would be too!

update 5/17: can you believe that 27 purchases were made already?! and…i got $4. hahaha thanks for the coffee friends!
Update 5/25: holy moly we’re at $18.43 now with almost 50 orders?!
*btw #2, all tips in this post are provided by an at-home manicurist (me). everything i’ve learned so far are from the manicures i’ve given to myself and friends, and also from observing professional manicurists. hope the tips are helpful to you, but keep in mind that I’m still learning!
Tips on giving yourself a gel manicure
Step 1: nail prep, skin prep, station prep
trim, shape, and clean your nails. make sure to buff out or file down your nail to ensure that you have a smooth surface to work on
push back your cuticles and trim any dead skin hanging around on the nail bed. use the blue cross cuticle conditioner here to make your life easier!
plug in uv lamp and set on a stable surface on your manicure station
apply sunblock on the top surface of your hands to protect them from the uv rays from the curing lamp (avoid applying onto nails though, you want to keep them dry)
step 3: design and color prep
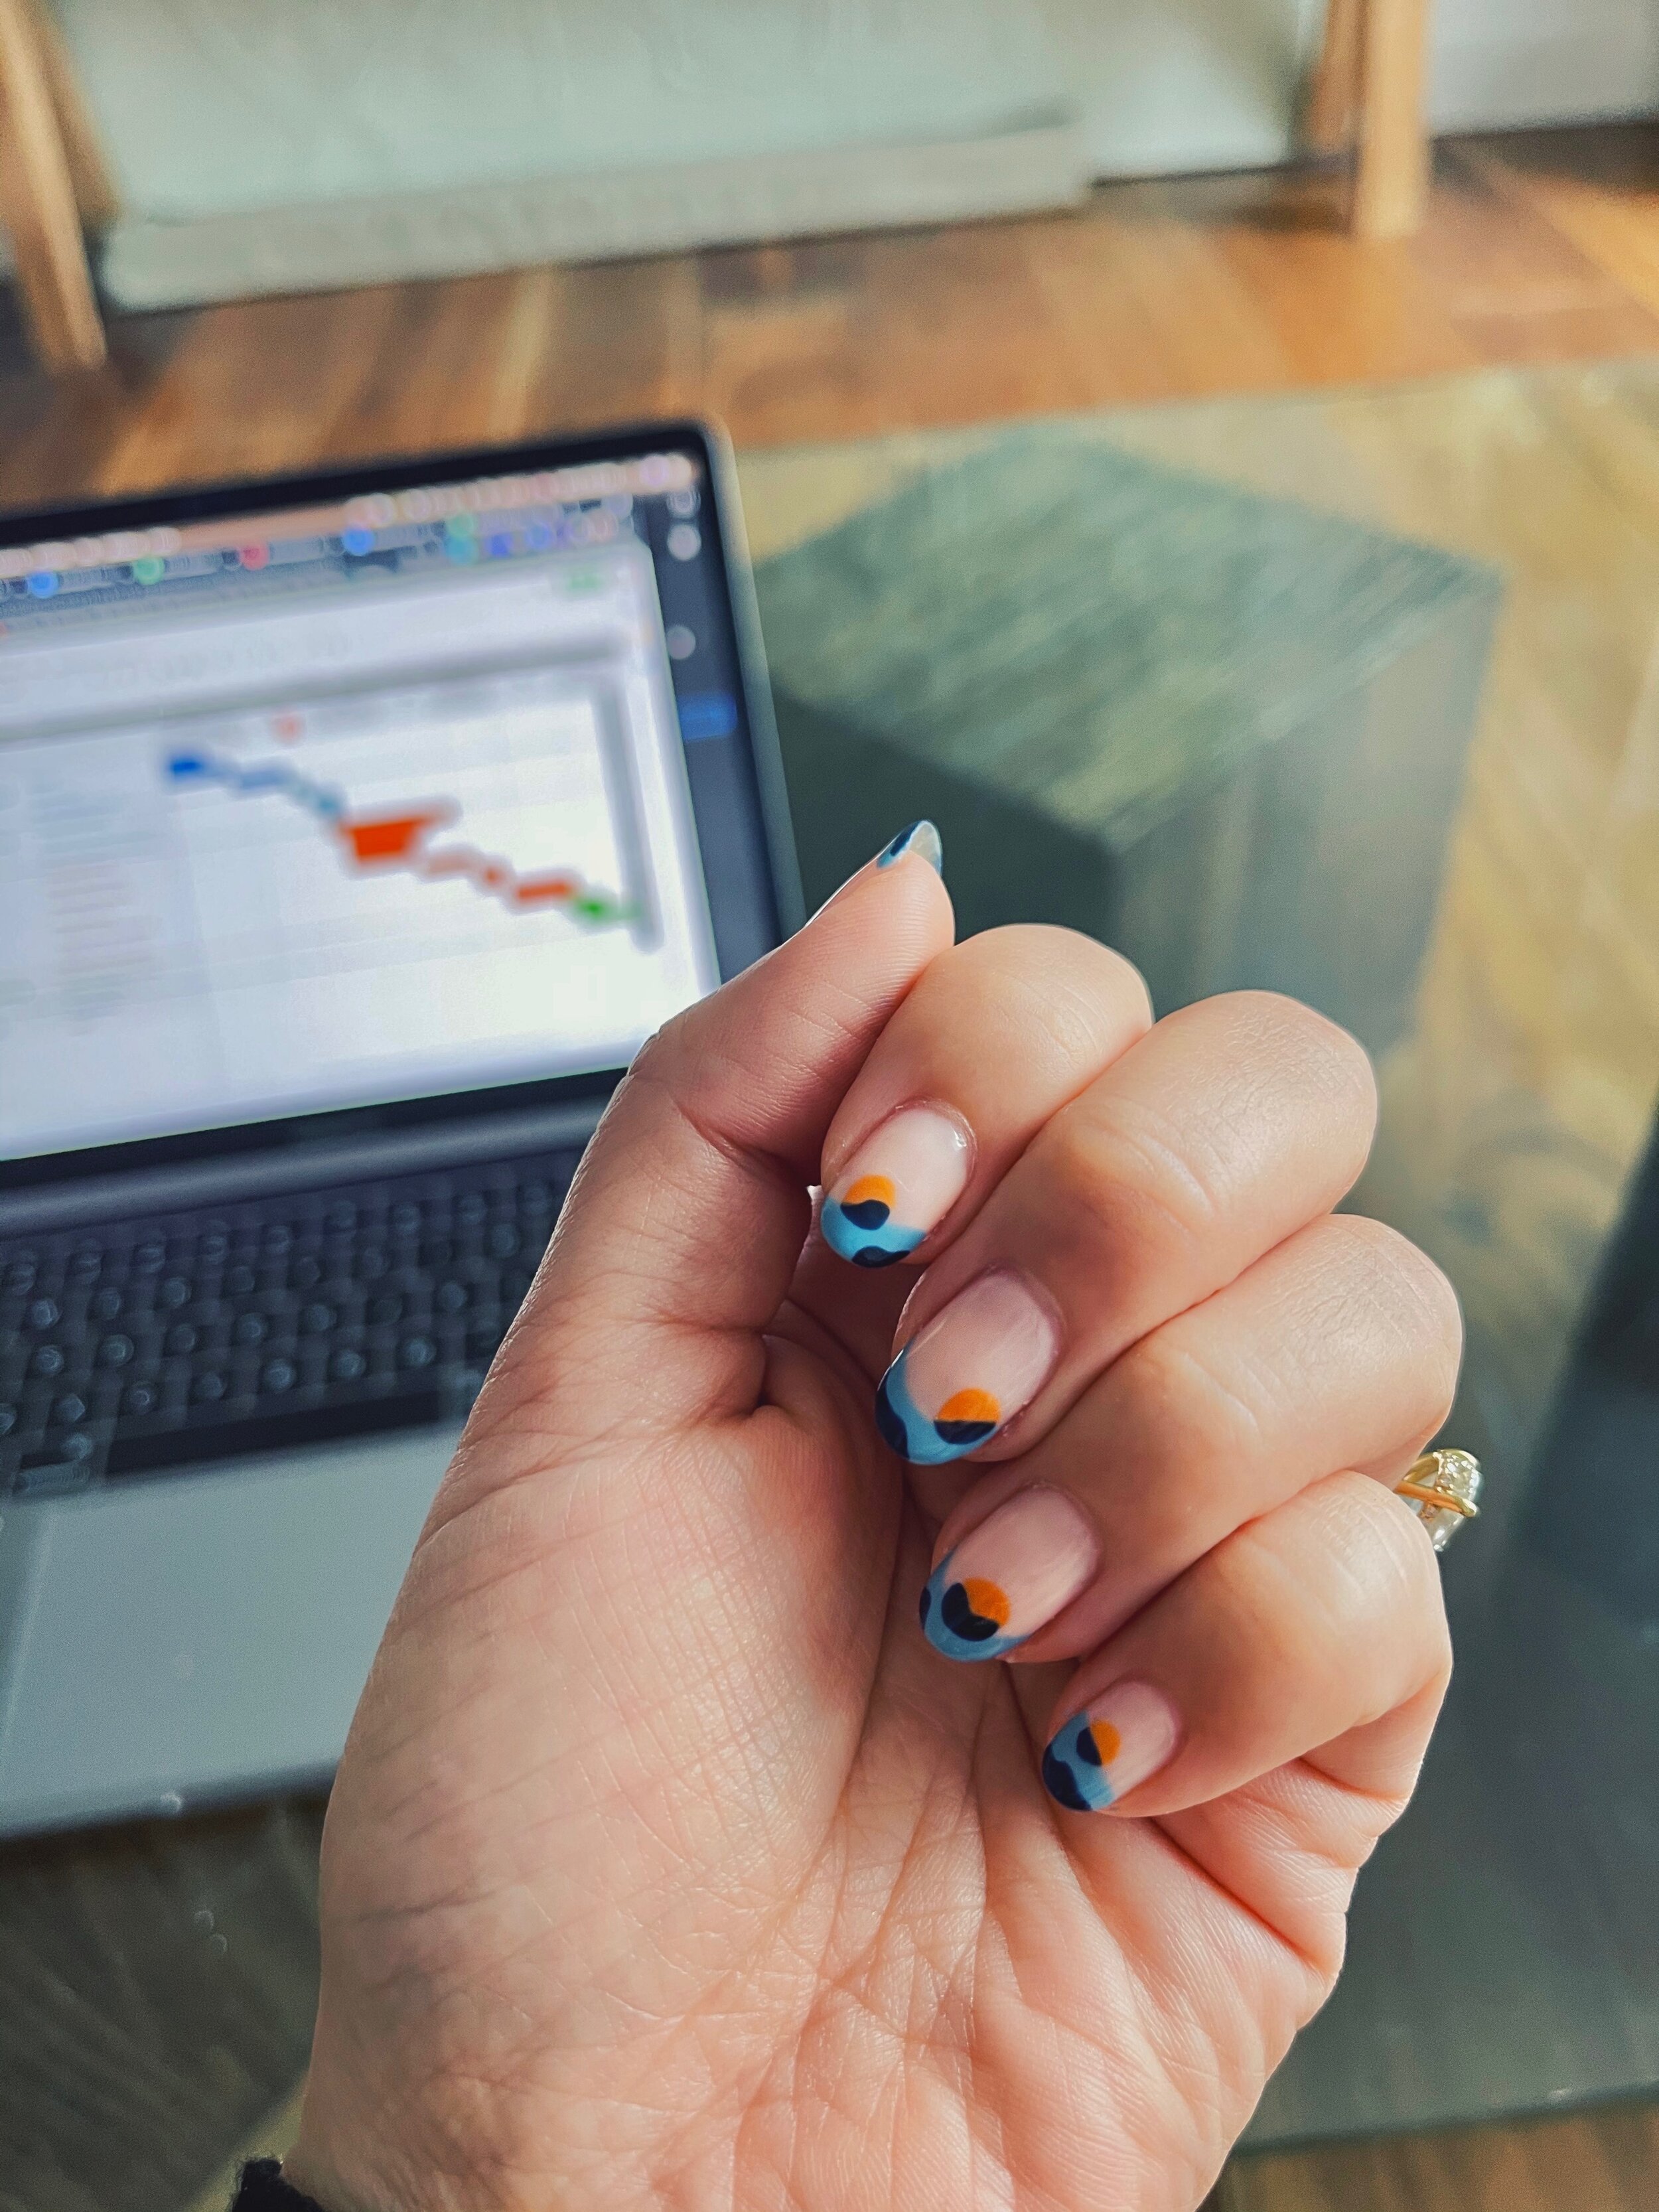
pick out a design (here are some trendy nail designs on my pinterest board!)
change your phone setting to keep it from locking automatically because it’s annoying to unlock your phone every time you need to reference the design
pick out your base color
if you need a custom color or color for designs: mix and prep any colors you’ll be using for nail design on a wax/parchment paper or foil. you’ll probably need around 2-3 drops per color. the polish won’t dry or harden so don’t feel pressured to rush.
pro-tips on nail design and curing your polish (aka baking your polish under the uv lamp)
pro-tips on using gel polish:
with every coat of polish, avoid getting it on your skin and cuticles. you can always wipe it off with some acetone before you cure the polish under the uv lamp.
remove any dust or particles using a tweezer
you can always wipe the gel polish off using a cotton pad with rubbing alcohol if you mess up, just as long as it’s before you cure the polish
paint on as thin of a layer of polish as possible. you can always paint a second coat for more opacity
seal the tips whenever you can: whether you’re painting on base coat or nail designs on the tip, take the extra effort to bring the polish to the edge of your nail.
pro-tip on painting designs - paint and cure the designs in layers
if you’re painting a flower: paint the petals first, cure it, and then paint the middle center and cure it afterwards
if you’re painting french tips with designs on top: paint the base coat using however number of layers look good to you (usually 2-3), cure the base coats, then paint the french tip, cure it, and then paint the designs on top
the ball tip tool is my bestie and I prefer to use this for painting and design over using brushes. The fat tips are good for painting and getting an even layer. the thin ballpoint tips are perfect for those intricate designs!
step 4: gel polish sequence
brush on a layer of the dehydrator and then the bond primer. these don’t need to be cured under the lamp
paint on a layer of clear base coat, cure it for 45 seconds.
paint on a layer of your colored base coat, cure it for 45 seconds. repeat if needed.
paint on nail designs and cure it in layers for 30 seconds.
paint on your clear top coat and run the brush around the tips of your nails to seal the coating. cure it for 90 seconds.
take a cotton pad with rubbing alcohol and rub it on the top layer of your nails to remove the stickiness.
take a picture and tag/message me on instagram because im dying to know how it turned out!!! leave your comments and questions here too!
removal
when your polish starts to chip or are itching to try a new design, whatever you do, ****Do not peel your polish off***. this could potentially cause precious layers of your nails to peel off or even worse, your nail to break off with the polish. do the responsible thing and take the time to:
tear up cotton buds to your nail’s size and soak them with acetone. apply them individually and wrap your fingers with foil or use these nail clips
wait about 15-20 minutes and carefully chisel the polish off using the chisel tool. if the polish is still on your nail, add a little more acetone and soak for longer.